

Despite the rise of digital payments and online banking, checks remain a trusted and widely used method of payment for both personal and business transactions. Whether you’re paying rent, reimbursing a friend, or settling a business invoice, knowing how to send a check in the mail safely and properly is crucial to ensure your funds arrive intact and on time.
This guide covers everything you need to know about mailing checks, including best practices, what to avoid, and how to properly address an envelope using an example postal address. Let’s dive in!
Why People Still Mail Checks
While many financial transactions have moved online, checks continue to offer a unique blend of benefits:
- Security: Checks can be canceled if lost or stolen, giving you control over your funds.
- Record Keeping: Each check creates a paper trail that can serve as proof of payment.
- Universality: Not all recipients use digital wallets or accept electronic transfers, especially landlords or small businesses.
So, if you’re opting to mail a check, you’re not alone—and you’re definitely not outdated. But you do need to be cautious.
The Risks of Mailing a Check
Mailing a check carries some inherent risks:
- Theft: If intercepted, someone could try to alter or forge your check.
- Loss: Postal delays or misrouted mail can lead to late payments or missing checks.
- Fraud: If a check is copied or information is leaked, it could lead to unauthorized transactions.
Fortunately, by following a few careful steps, you can mitigate these risks significantly.
Step-by-Step: How to Mail a Check Safely
Here’s a detailed breakdown of how to properly send a check through the mail:
1. Write the Check Clearly
Ensure that all the details on your check are accurate:
- Date the check.
- Include the full legal name of the recipient.
- Write the amount in both numbers and words.
- Sign the check legibly.
Avoid leaving blank spaces, especially in the “Pay to the Order of” and “Amount” fields, which could be exploited if intercepted.
2. Use a Security Envelope
Instead of a plain white envelope, opt for a security envelope with a printed pattern on the inside to conceal the contents. Some people even tape the inside of the envelope or use double envelopes for extra protection.
3. Include a Note or Invoice
Including a note, such as a payment stub, invoice, or explanation letter, helps the recipient identify what the check is for. It also reduces the likelihood of your check being overlooked or discarded accidentally.
4. Seal the Envelope Securely
Use tape or glue to firmly seal the envelope. A securely sealed envelope reduces the risk of tampering and protects your check from falling out.
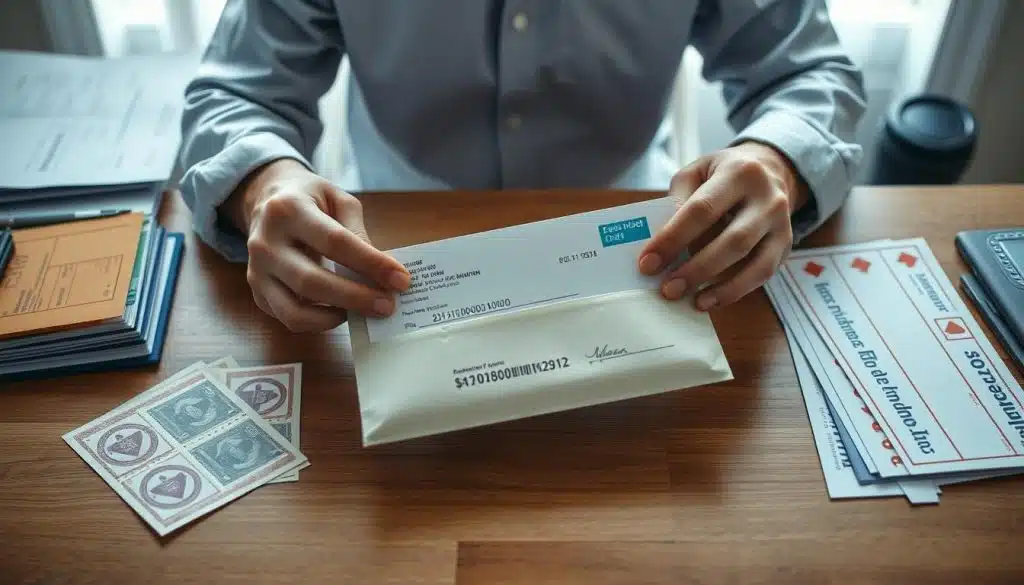
5. Correctly Address the Envelope
Using the correct format for addressing the envelope is essential to avoid delivery issues. Always double-check the recipient’s address and use a return address in the top left corner.
If you’re unsure of the correct format, you can refer to this example postal address to make sure your envelope meets mailing standards.
Choosing the Right Mail Option
When mailing a check, not all postage methods are equal. Here are your safest options:
Certified Mail (with Return Receipt)
With Certified Mail, you get proof of mailing and can track the envelope until delivery. Adding a return receipt ensures you know exactly when and to whom the check was delivered.
Priority Mail or Priority Mail Express
These services offer faster delivery and include tracking. Express Mail even comes with insurance and guaranteed delivery times.
Add Insurance
If your check is of high value, consider adding insurance. While the check itself may not be valuable if canceled, the cost of delay or fraud can be high.
What to Avoid When Mailing a Check
- Never send cash: Checks are traceable and cancelable—cash is not.
- Avoid writing sensitive info on the envelope: Don’t write “rent payment” or other clues that suggest valuable contents.
- Don’t leave the envelope in your personal mailbox: Use a USPS collection box or drop it off at the post office for added security.
Alternatives to Mailing a Check
While mailing checks is still common, you may also consider these alternatives:
- Bank Transfers (ACH/Wire): Safe, fast, and often free.
- Online Bill Pay Services: Many banks offer this service where they mail a check on your behalf.
- Peer-to-Peer Apps: Apps like Zelle, Venmo, or PayPal make it easy to send money instantly, though not everyone accepts them.
Still, if mailing a check is the only option—or the preferred one—it’s important to do it right. For a complete breakdown of precautions and options, this guide on how to send a check in the mail offers deeper insights into safe mailing practices.
How to Track a Mailed Check
If you opt for Certified Mail, Priority Mail, or similar services, tracking is available via the USPS website. Simply enter the tracking number to see your envelope’s journey and confirm delivery.
If your check goes missing, here’s what to do:
- Contact the recipient to confirm non-receipt.
- Place a stop payment on the check through your bank.
- Reissue the check only after the stop payment is confirmed.
Banks usually charge a fee for stop payments, but it’s a necessary precaution in case of loss.
When to Follow Up
Allow at least 5–7 business days for regular mail, or 1–3 days for priority services. If the recipient hasn’t received the check by then, initiate follow-up actions. You don’t want to delay important payments or cause inconvenience.
Final Thoughts
Mailing a check can be both safe and effective when done properly. Taking a few extra steps—like using tracking, securing your envelope, and verifying the address format—can protect your funds and give you peace of mind.
Whether you’re sending a business payment, paying a bill, or simply reimbursing a friend, don’t overlook the details. Knowing how to send a check in the mail and using an accurate example postal address could mean the difference between a smooth transaction and a mailing disaster.
So next time you reach for your checkbook, remember: it’s not just about writing the check—it’s about sending it the right way.


