

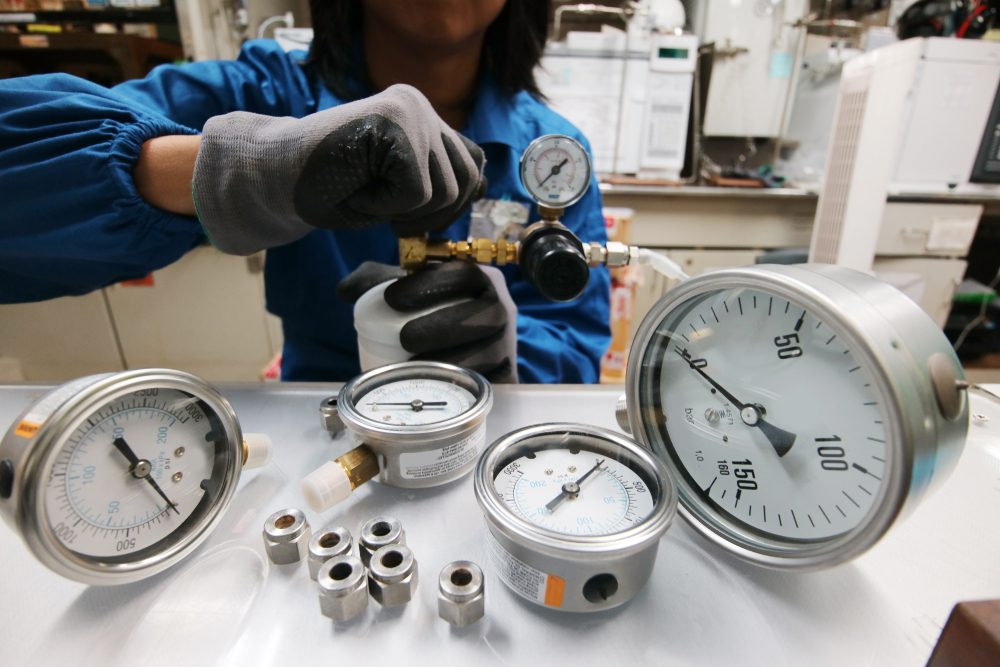
Calibrating a high accuracy electronic pressure regulator keeps machines working correctly and keeps people safe. This guide explains each step in easy words so that even a beginner can follow it. We use short steps and clear headings so you can do the job without feeling lost.
What you will need
- A clean and reliable air or gas supply
- A simple test gauge or digital manometer
- A flat surface and a small wrench
- Notebook and pen to write numbers
- Safety glasses
Safety first
Wear safety glasses and work where air can escape safely. Turn off the power where you can. Close valves slowly so you do not cause a surprise pop. These rules keep you and your tools safe.
Check the regulator type
Some regulators work like a proportional pressure regulator, and some work with simple knobs. If you have an electronic proportional pressure regulator or an electro pneumatic regulator, read its small manual first. Different models use small changes in control to change pressure.
Set up for calibration
- Turn off the system.
- Connect the test gauge to the regulator output where the pressure comes out.
- Make sure the supply pressure is steady.
- Use the notebook to make a column for set pressure and a column for measured pressure.
If you use a high accuracy electronic pressure regulator, install it in a spot where air can flow freely and the wires won’t get damaged.
The step-by-step calibration
- Start low. Set the regulator to a low pressure, for example, 10 units. Wait a few seconds for the pressure to settle. Read the test gauge and write the number down.
- Move to mid. Change the set pressure to a middle value, for example, 50 units. Wait and write the measured value.
- Go high. Set to a high value near the top of the range. Wait and record the reading.
- Compare. Look at each reading and subtract it from the target number to find the error. Check if the gauge is reading too low or too high.
- Adjust. Use the small adjustment screw or use the digital controls to fix the error. Make small moves and wait after each change. Repeat the above three steps (low, mid, and high values) until the readings are close to the target and stay steady.
Verify and save
After you adjust, go through low, mid, and high again. If the numbers match closely each time, write the final readings, the date, and your name in the notebook. This record helps later.
Simple troubleshooting
- If the regulator never reaches the set value, check that the input supply pressure is high enough.
- If the reading jumps, check for leaks at the fittings. If you find any, then tighten them gently.
- If an electronic regulator does not respond, check the power and the control signal.
Quick tips
- Calibrate at normal room temperature. Big temperature swings change results.
- Use the same test gauge each time to keep readings fair.
- Do not rush. Waiting a few seconds after each change helps the pressure settle.
Why this matters
A well-calibrated high accuracy electronic pressure regulator keeps pressure steady and parts last longer. It also helps machines do the job they were built for. Whether you work with a simple regulator or an electronic pressure regulator, these steps help you get good results fast.
Final note
Keep a simple routine and check low, mid, and high values. Record your numbers in a notebook. Small, steady changes make the biggest difference in the final result. When you follow these clear steps, calibration becomes quick and easy.


