

While smartphones have become a part of our daily lives, issues like cracked screens, aging batteries, or charging failures are inevitable. If you are frustrated by expensive repair fees, why not try DIY phone repair? It has become a solution that is both cost-saving and fulfilling. However, phone repair is not a simple disassembly; DIYFIXTOOL will explain the logic, tools, and precise operations through this article.
I. Preparation Before Repair
Modern phone structures are extremely tight. Using non-professional tools often leads to casing scratches, torn ribbon cables, or even battery fires. Before performing any disassembly, prepare a professional toolkit.
1.Basic Disassembly Tools
· Screwdriver Set: The interior of a phone is filled with specialized screws. A high-quality Precision screwdriver set is essential.
· Anti–static Wrist Strap or Mat: The static electricity carried by the human body is enough to break down tiny capacitors on the motherboard.
· Suction Cups and Pry Tools: Plastic pry tools and anti-static opening picks can separate clips without conducting electricity.
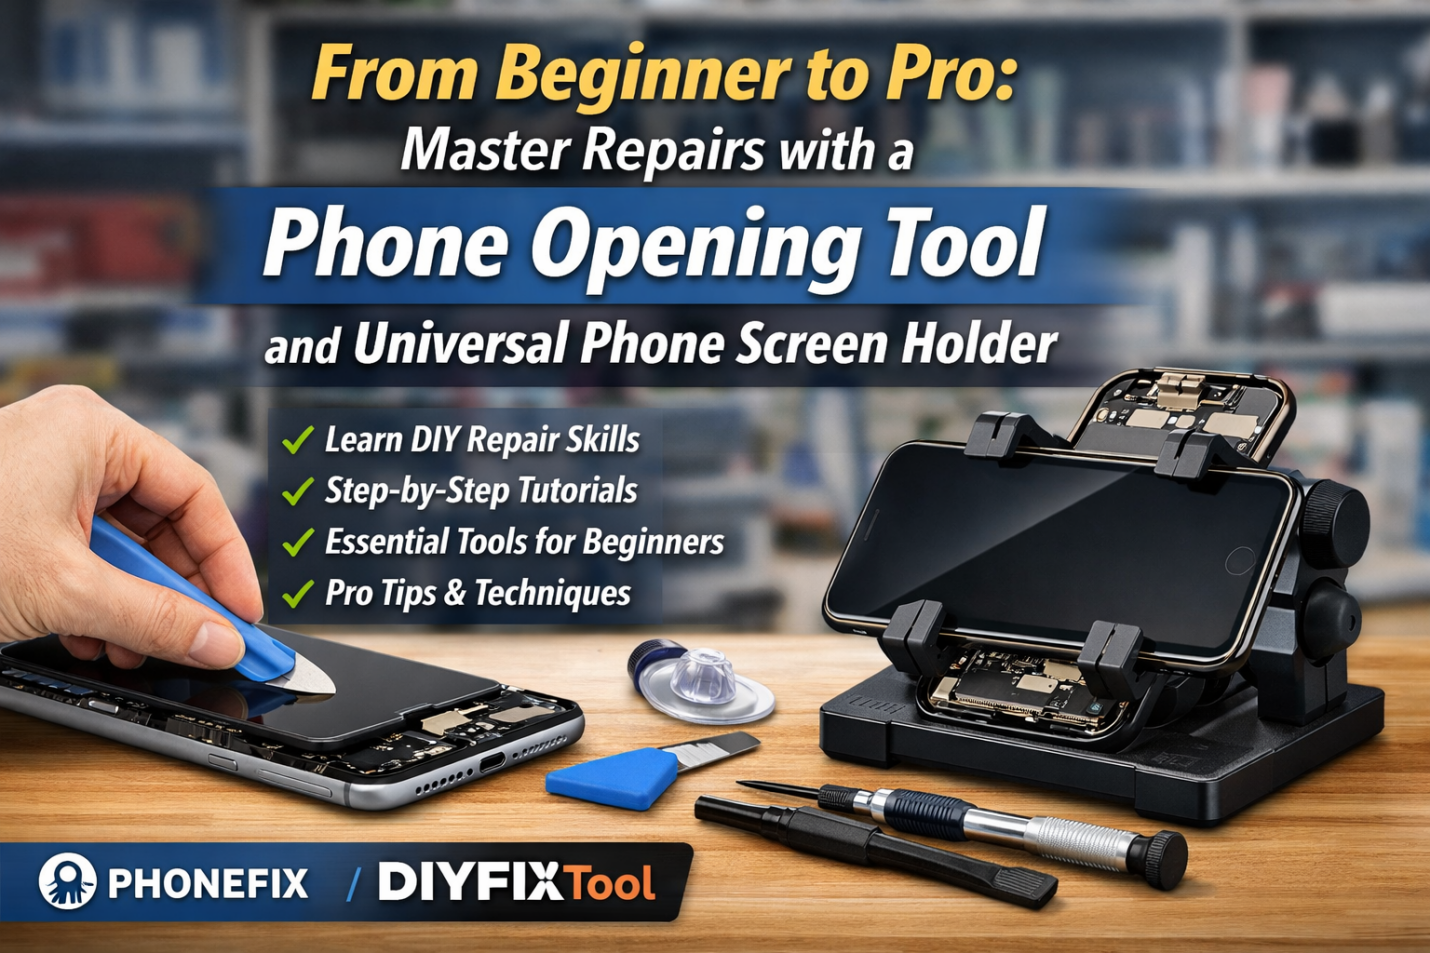
2. Phone Opening Tools
· Pliers–style Suction Cup Opener: Specifically designed for the strong adhesives in modern waterproof phones. It applies even force through the lever principle, making it more stable than manual suction cups and preventing the tearing of screen cables due to excessive force.
· Temperature Heating Pad/Hot Air Gun: Used to soften the waterproof adhesive on the edges of the screen or back cover. Precise temperature control effectively avoids damaging OLED screens or causing battery swelling.
· Ultra–thin Metal Opening Sheet: Extremely thin and flexible, it can cut into tiny gaps in the body. It is a powerful tool for removing sealant when used in conjunction with heating tools.
II. Analysis and Diagnosis of Common Faults
Before attempting a repair, you must first analyze the source of the fault.
1. Screen Failure
Symptoms: Touch failure, black spots, stripes, or simply cracks on the outer glass.
Deep Analysis: Phone screens are usually fully laminated, consisting of a glass cover, a touch layer, and a display layer (LCD/OLED). If the display is normal and only the glass is cracked, those with strong hands-on skills can challenge replacing the outer glass. However, for beginners, it is recommended to replace the full screen assembly, as the process of separating the laminated layers requires extremely high heat control.
2. Power and Battery Life Issues
Symptoms: Automatic shutdown, jumping battery percentages, slow charging.
Deep Analysis: It is necessary to distinguish between battery aging and a damaged charging port. If the data cable is loose when plugged in, it may be wear or dust accumulation in the charging port, which can be cleaned with a cleaning stick. If the phone charges quickly but loses power even faster, it is usually because the battery cycle count has exceeded its limit.
3.Internal Connection Issues
Symptoms: Camera cannot open, no signal, no sound from the speaker.
Deep Analysis: Such problems often stem from loose internal ribbon cable connectors or cold solder joints on the motherboard caused by drops.
III.Repair Process
To help everyone understand the coordination between tools and operations, we will use the most common screen replacement as an example to outline the standard repair steps.
Step1. Environment Setup and Safety Protection
First, lay down an anti-static repair mat and wear an anti-static wrist strap. Then, power off the phone completely and use the corresponding Phillips screwdriver to remove the bottom fixing screws. It is recommended to place the removed precision screws in order on a magnetic memory mat to avoid damaging the motherboard by confusing long and short screws.
Step2.Softening the Adhesive
Use an industrial Hot Air Gun or heating pad to evenly heat the edges of the phone to soften the internal sealant. It is recommended to control the temperature between 60°C – 80°C and heat for about 3-5 minutes until it feels hot to the touch. Temperature must be strictly monitored to prevent high heat from causing OLED screen discoloration or battery bulging.
Step3. Safe Disassembly
Use a phone opening tool combined with an ultra-thin pick to quickly cut through the surrounding sealant after the suction cup creates a gap. Once the screen is lifted, immediately use a universal phone screen holder to fix it at a safe angle to prevent the ribbon cable from tearing. Before operating on internal components, you must first use a plastic spudger to disconnect the battery connector to eliminate the risk of static electricity or short circuits burning the motherboard backlight circuit.
Step4. Component Transfer and New Screen Testing
Carefully transfer accessories such as the earpiece and sensor ribbon cables from the old screen to the new one. Before final sealing, connect the new screen cable and the battery to perform a “bare-metal” test, comprehensively checking display colors, dead pixels, and touch sensitivity. After confirming all functions are normal, disconnect the power and proceed to the reassembly steps.
Step5.Restoration and Pressure Application
After thoroughly cleaning the residual adhesive from the middle frame, apply specialized B7000 glue or original waterproof adhesive tape. Reconnect the ribbon cables and install the metal cover screws in reverse order of disassembly. Finally, use screen fastening clamps to apply even pressure to the four sides of the phone for at least 30 minutes to ensure the screen is sealed perfectly.
Conclusion
With the safety disassembly guarantee provided by Phone repair tools and the stable operating environment offered by universal phone screen holders, anyone can attempt this skill that is both an exercise in patience and full of practical value. By choosing a reliable tool brand and earnestly learning repair techniques, you will be able to face every challenge with confidence.


