

If you love bringing creative ideas to life, Perspex clear cast acrylic can be one of the best materials to work with. It’s lightweight, durable, and crystal clear, making it perfect for everything from furniture and frames to shelving and signage. Its flexibility means you can shape it to suit almost any project, whether simple or detailed.
Unlike many materials, it gives you the perfect mix of strength and style, allowing your projects to look professional without being difficult to handle. Follow along to learn practical tips that’ll help you get professional results every time you use it.
Understanding Why Perspex Acrylic Excels In DIY Projects
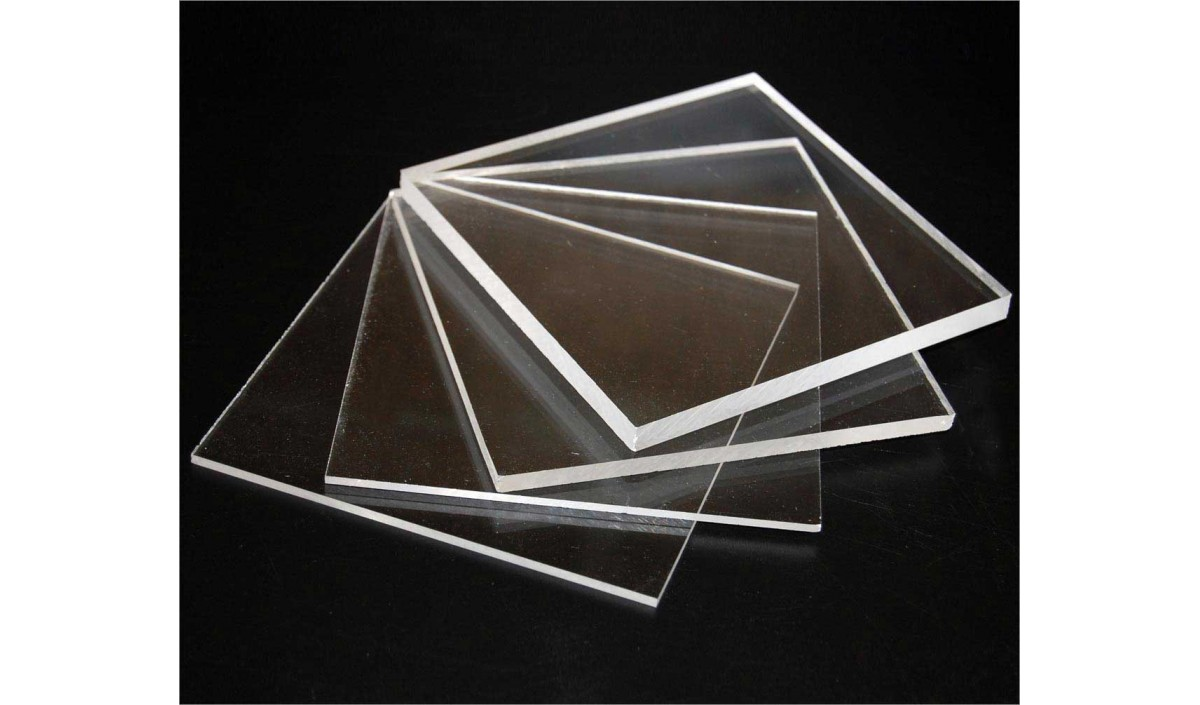
Perspex clear cast acrylic sheets are a favourite among DIY enthusiasts because of their strength, clarity, and ease of use. They’re around half the weight of glass yet far more impact resistant, which makes them safer for home use.
You can also count on their weather resistance since they don’t yellow or become brittle over time. Simply Plastics offers these sheets in different sizes, thicknesses, and finishes, and you can even order them cut to size with polished edges or rounded corners.
This means less preparation time and cleaner results for your projects.
Cutting And Shaping For Best Results
Working with Perspex is simple when handled carefully. Keep the protective film on while cutting to prevent scratches. A fine-toothed saw or circular saw with a clean, sharp blade works well for straight cuts.
For shaping, gentle heating with a heat gun helps the material bend smoothly. Move the heat evenly and avoid focusing on one spot too long as that can cause bubbles or discolouration.
When drilling, use bits designed for plastic and drill slowly with light pressure. This prevents cracking and ensures smooth, clean holes. Once cut and shaped, sand the edges lightly to remove sharpness before polishing.
Polishing And Cleaning The Surface
To achieve a flawless, glass-like edge, start with fine-grit sandpaper then finish with a polishing compound. Flame polishing is another option if you have experience as it gives a mirror-clear finish when done correctly.
Keeping the surface clean is just as important. Use mild soap and water with a soft microfibre cloth to remove dust or smudges. Avoid ammonia-based cleaners or abrasive sponges as these can cause surface damage. You can also apply an anti-static cleaner to reduce dust buildup and keep your acrylic shining longer.
Assembling And Joining Acrylic Pieces
When joining acrylic parts, use a solvent-based adhesive specially designed for acrylic bonding. It slightly melts the surfaces, allowing them to fuse firmly as they dry. Always clean and align the edges before applying adhesive and use clamps to hold the pieces in place for a smooth, secure bond.
If you’re attaching acrylic to materials like wood or metal, pre-drill slightly larger holes than the screws to allow for natural expansion. This prevents stress cracks, especially in areas exposed to heat or direct sunlight.
Maintaining Long Lasting Clarity
Once your project is complete, keep your acrylic looking clear and bright with regular care. Wipe it down gently and use anti-static polish to stop dust from clinging. Store spare sheets flat in a cool, shaded place to prevent warping. Because Perspex is UV and weather resistant, it’ll keep its clarity and strength for years, even in outdoor settings.
Why Perspex Acrylic Is The Smart Choice For DIY Creators
Choosing Perspex clear cast acrylic for your DIY projects gives you a strong, adaptable, and sustainable material that’s easy to work with. Its professional finish, long-lasting clarity, and recyclable nature make it ideal for both practical and decorative uses.
With the right tools and these simple techniques, you’ll enjoy crafting pieces that not only look exceptional but also stand the test of time. It’s a smart investment for any DIY enthusiast who values creativity, durability, and a polished finish in every project.


